Your step-by-step guide to stitching simple, beautiful flowers
This blog series is all about bringing a little joy and creativity into your day through simple hand embroidery. Whether you’re brand new to stitching or looking for small, satisfying projects to brighten up your fabric stash, you’re in the right place.
I’ll be sharing a different floral embroidery tip, technique, or mini design you can try at home. By the end of the series, you’ll have a lovely garden of stitched blooms—and the skills to grow even more on your own!
Let’s kick things off with the basics: how to use a stick and stitch sheet to get started on your first flower.
Want to stitch along with me? You can grab your own set of Flower stick & stitch flower designs in our Etsy store – click here to shop. They’re perfect for following along with the daily tutorials!
Step 1: Peel the Backing of the stick and stitch sheet
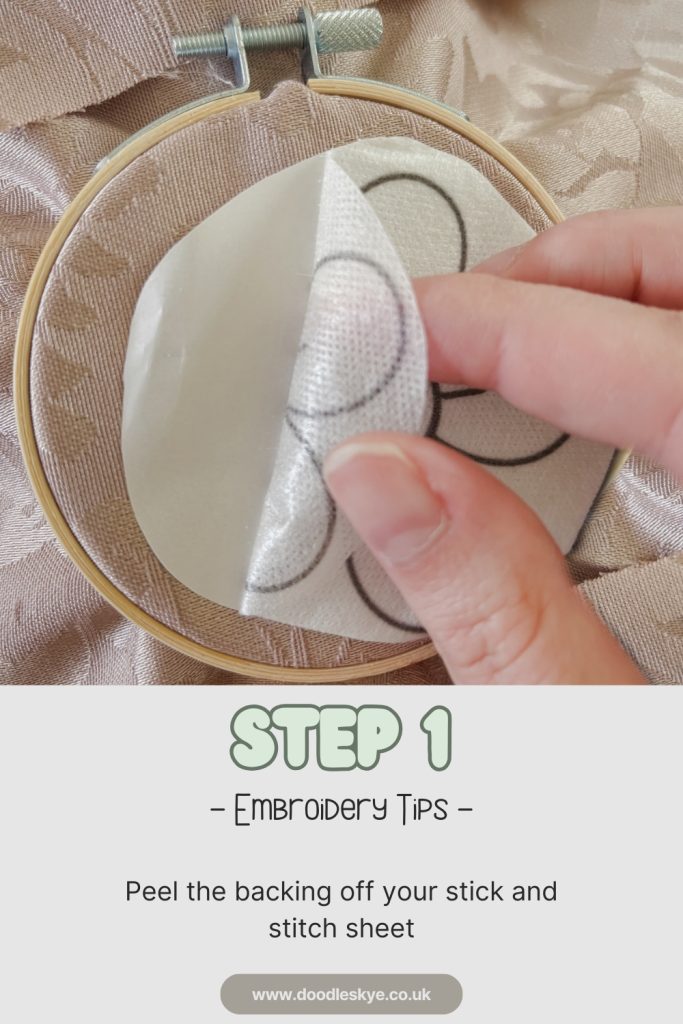
Carefully peel the backing off your stick and stitch sheet to reveal the adhesive side.
Step 2: Stick to Fabric
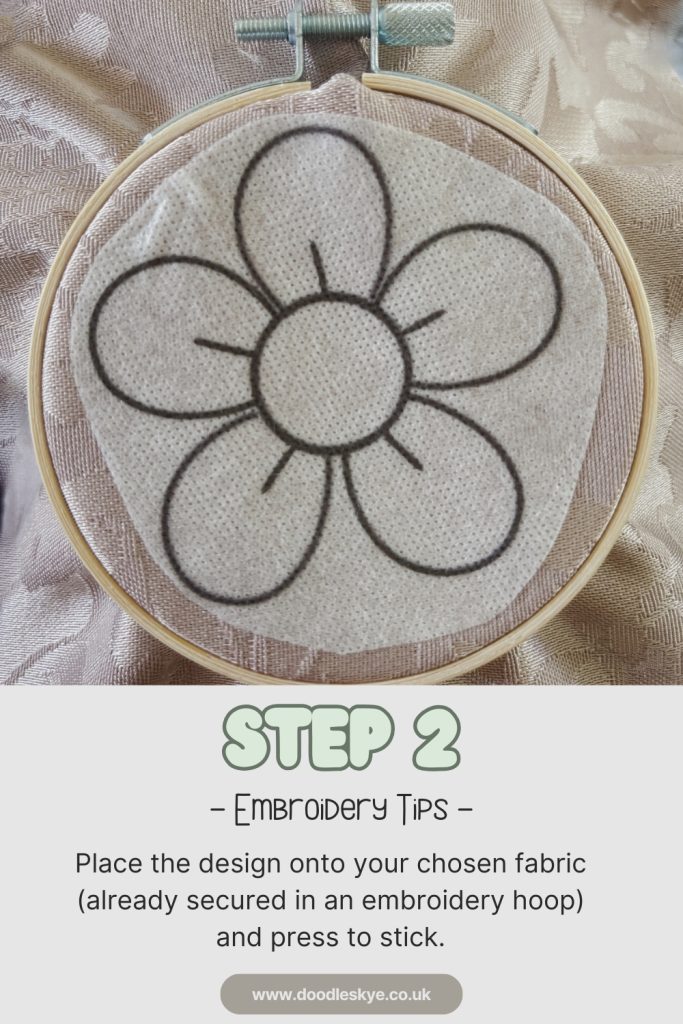
Place the design onto your fabric, which should already be secured in an embroidery hoop. Press gently to make sure it sticks flat and firmly.
Step 3: Outline the Center Circle

Using a straight stitch, outline the inner circle of the design. This creates the foundation for your petals.
Step 4: Begin Petals
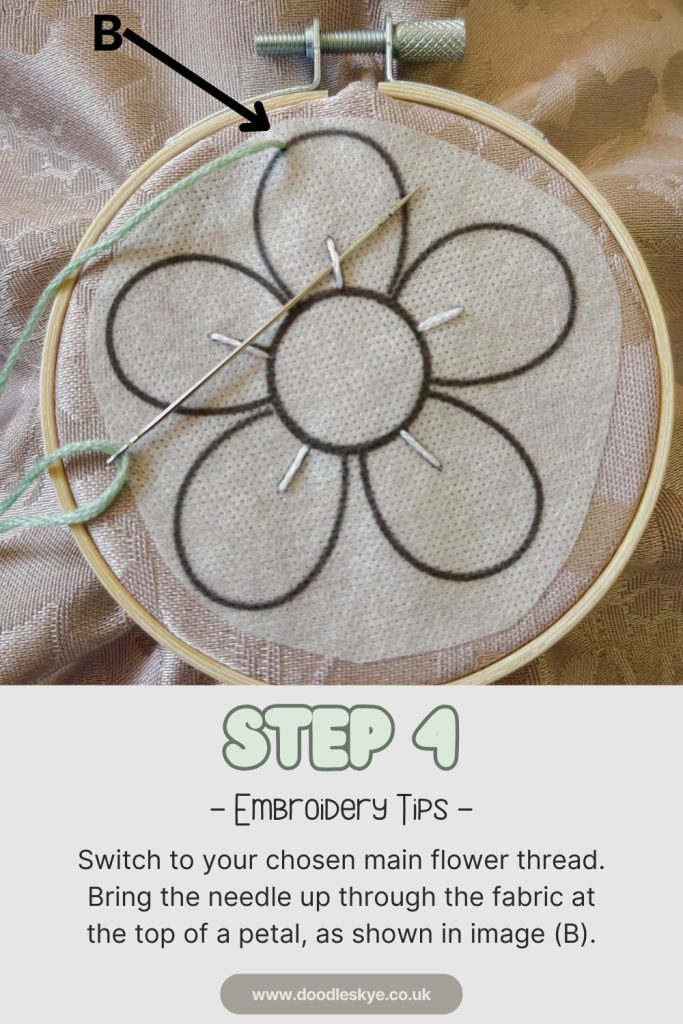
Switch to your main flower thread. Bring your needle up through the top of a petal as shown in the image.
Step 5: Loop Under the Outline
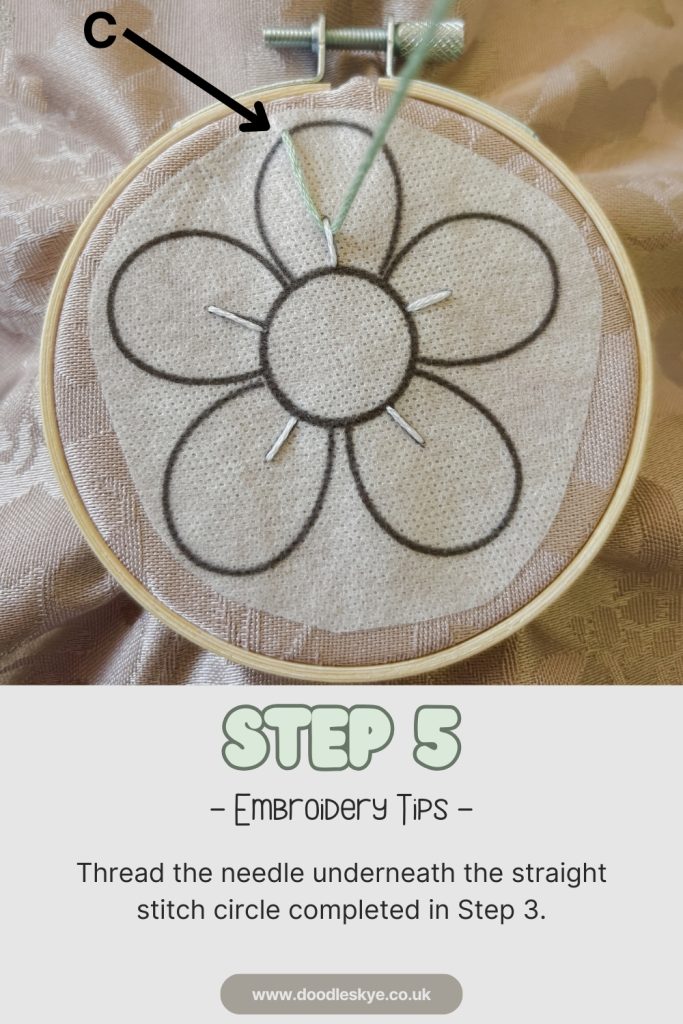
Thread your needle underneath the straight-stitched circle you created in Step 3. This secures your petal shape and gives it structure.
Step 6: Finish the Petal
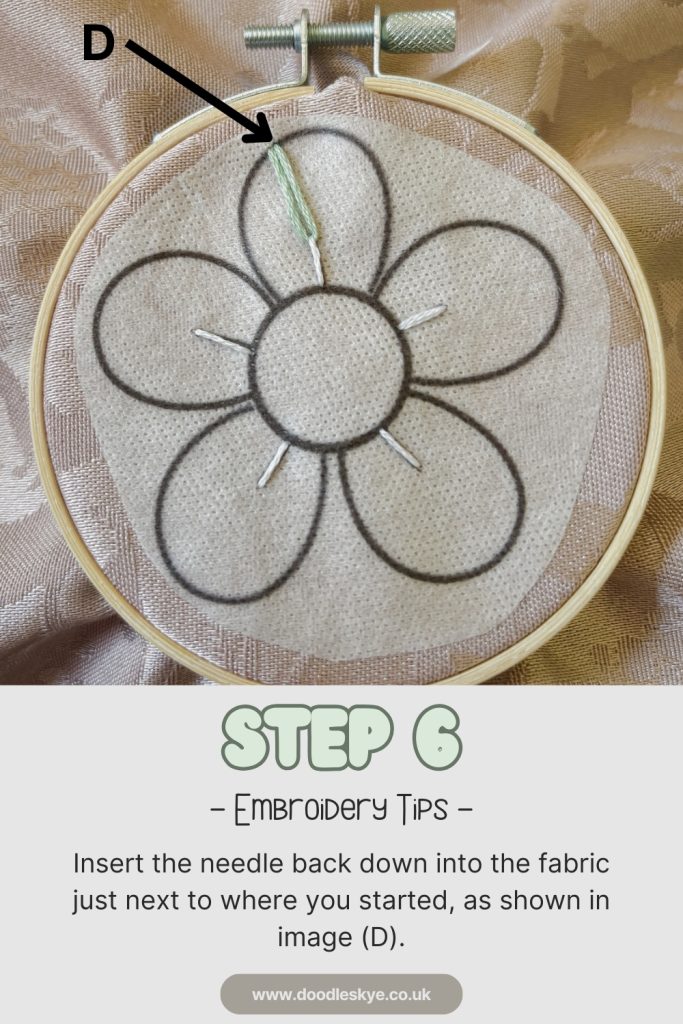
Bring your needle back down through the fabric just next to where you started. This completes one petal.
Step 7: Repeat for All Petals
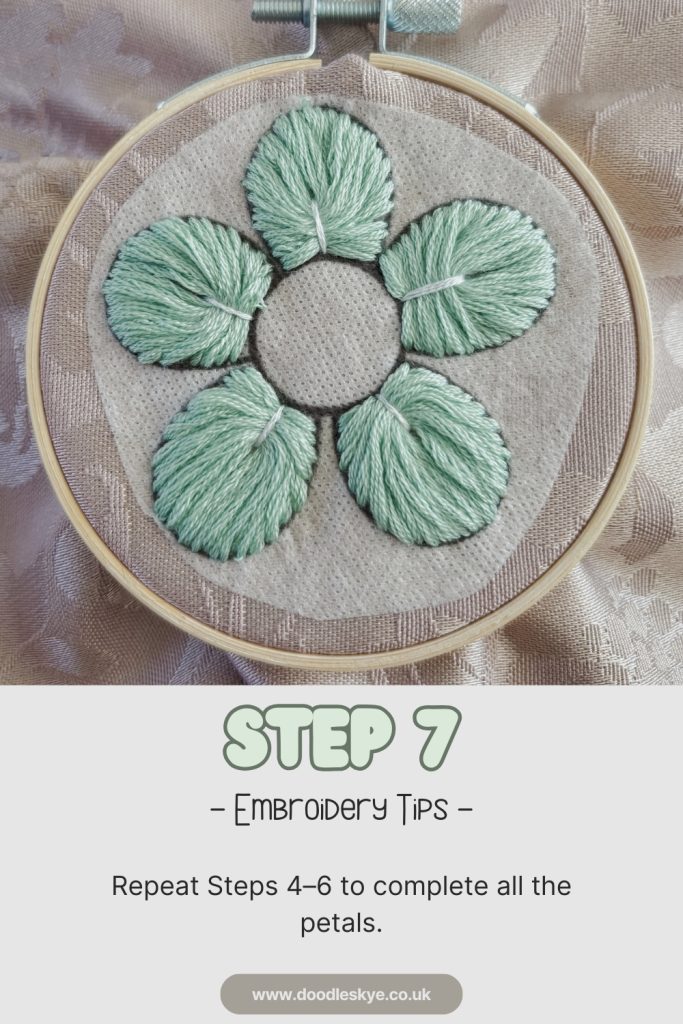
Continue repeating the petal stitching process around the circle until all petals are filled in.
Step 8: Add the Center Base
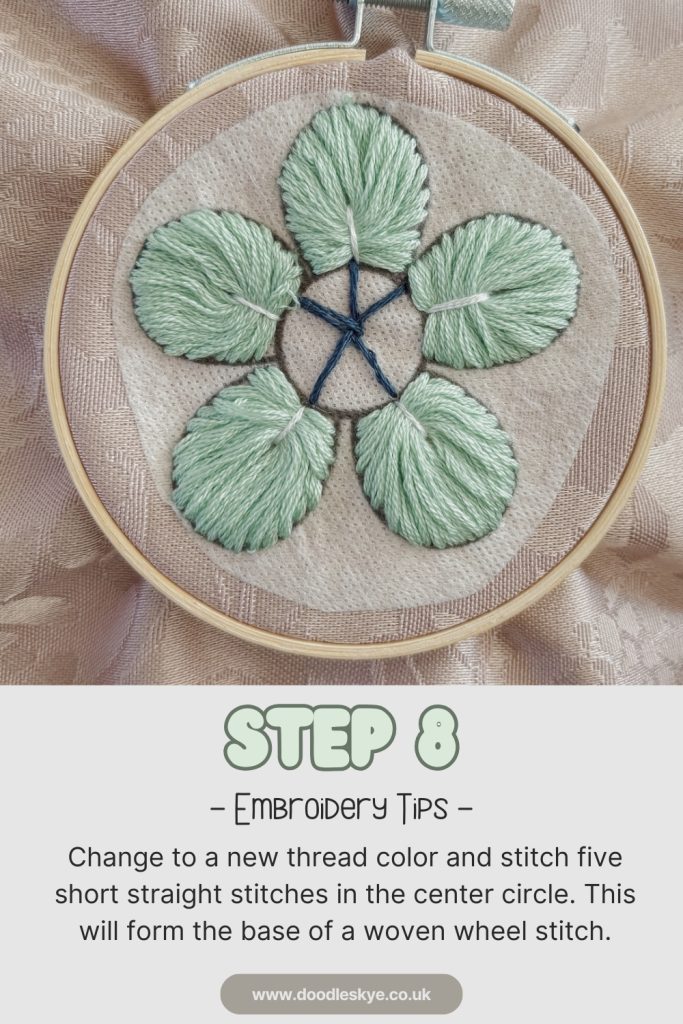
Change threads and create five short straight stitches in the centre of your flower. This forms the base for a woven wheel stitch.
Step 9: Weave the Center
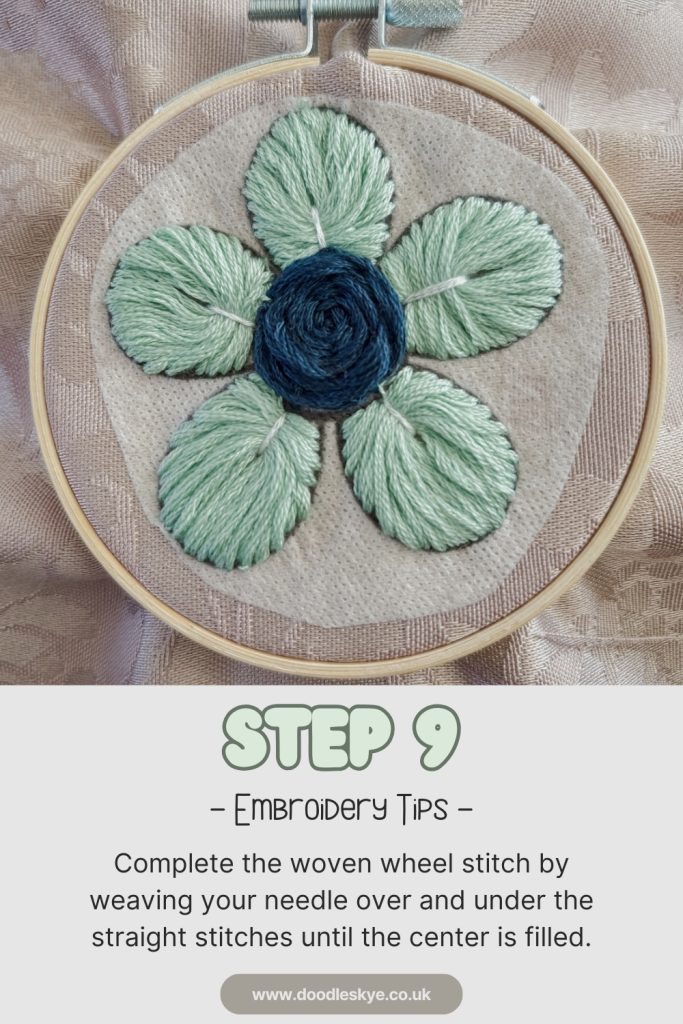
Now, complete the woven wheel by weaving your needle over and under the centre stitches in a circular motion until the centre is full.
Step 10: Add French Knots
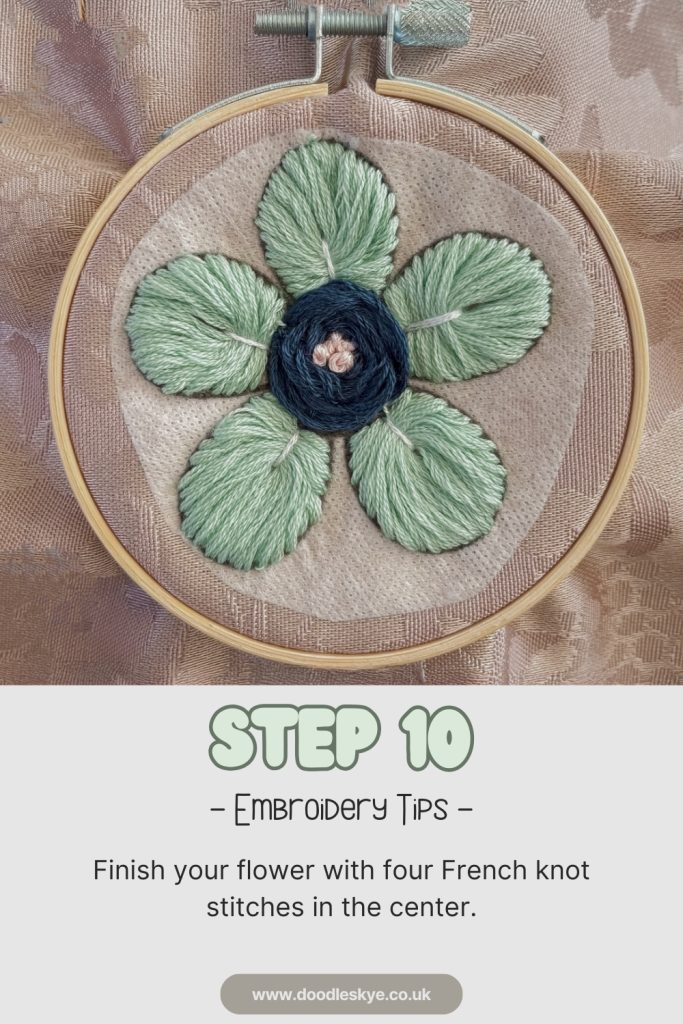
To finish your flower, add 4 French knots in the centre. Bring your needle up, wrap the thread around it 3 times, and pull the needle back down to secure the knot.
Step 11: Wash Away the Stick & Stitch Design
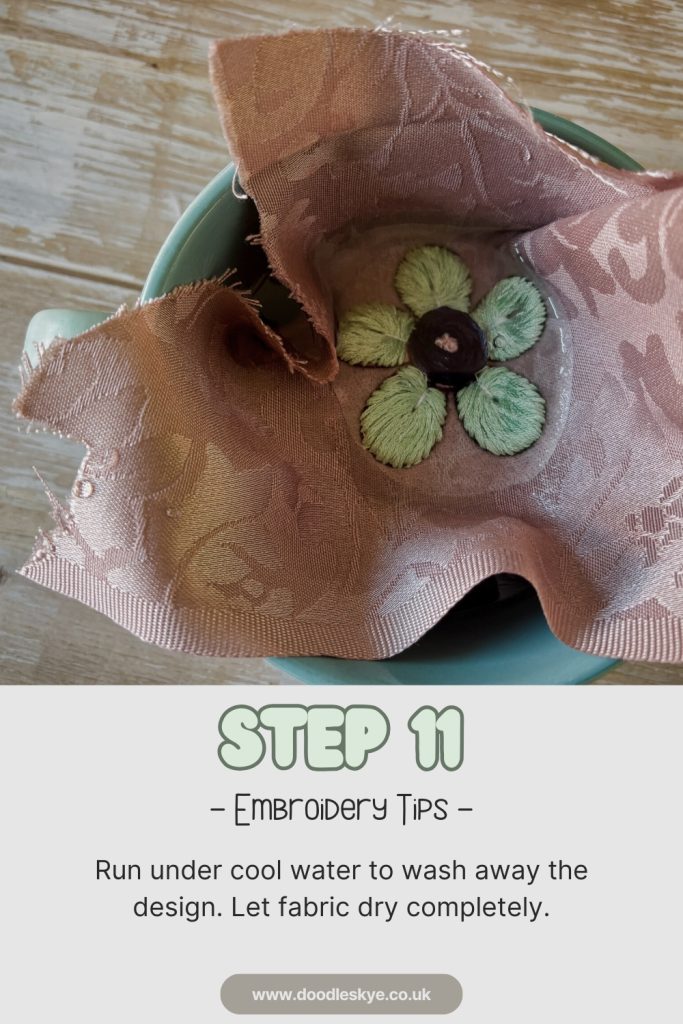
Once you’ve completed your embroidery, it’s time to reveal your finished design! Gently run the fabric under cool water and watch the stick and stitch design disappear. The adhesive will wash away, leaving you with just your beautiful embroidery.
Make sure to let the fabric dry completely before handling or framing.
That’s Your First Flower!
You did it! Your first flower is complete, and this is just the beginning. Keep checking back for new tips, tiny techniques, and fresh flower inspiration as we continue stitching together in A Flower a Day.
Ready to start your floral embroidery journey? Pick up your Flower Stick & Stitch pack in our Etsy shop so you can stitch each bloom right along with the series. It’s a fun, relaxing way to build your skills one flower at a time!